
The VIP Tier Program is a paid feature that allows merchants to reward loyal customers with progressive perks based on their lifetime engagement — measured by either points earned or money spent. This helps increase customer retention and incentivize more purchases.
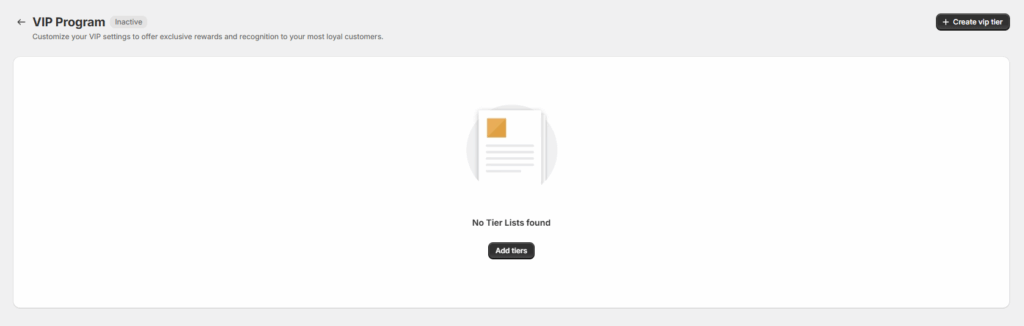
Accessing VIP Tiers #
To manage VIP tiers:
- Go to the VIP Tier section in the app.
- Merchants will see:
- A list of VIP tiers (if created)
- Or an empty table if no tiers exist
- Two buttons appear at the top:
- Add Tier — to start creating tiers
- Delete All Tiers — only visible if at least one tier has been created

VIP Tier Table Overview #
Each tier appears in a table with the following columns:
| Column | Description |
|---|---|
| Badge (Icon) | Choose from pre-selected icons or upload a custom image (max 5 uploads) |
| Tier Name | Name of the tier (e.g. Bronze, Silver, Gold) |
| Point/Amount Required | The threshold to reach the tier, based on points or total spending |
| Lifetime Points | System-calculated total points for tracking tier progress (non-decreasing) |
| Purchase Reward | Percentage boost this tier receives over the previous tier’s base reward |
| Other Rewards | Additional benefits or rewards specific to this tier |
| Actions | Currently only includes the Edit Tier option |
Tier Limits and Icon Rules #
- Recommended tiers: 3
- Maximum tiers allowed: 5
- Custom icon uploads allowed: Up to 5 images (1 per tier)
- Badge = Icon (terminology used interchangeably)
Creating VIP Tiers #
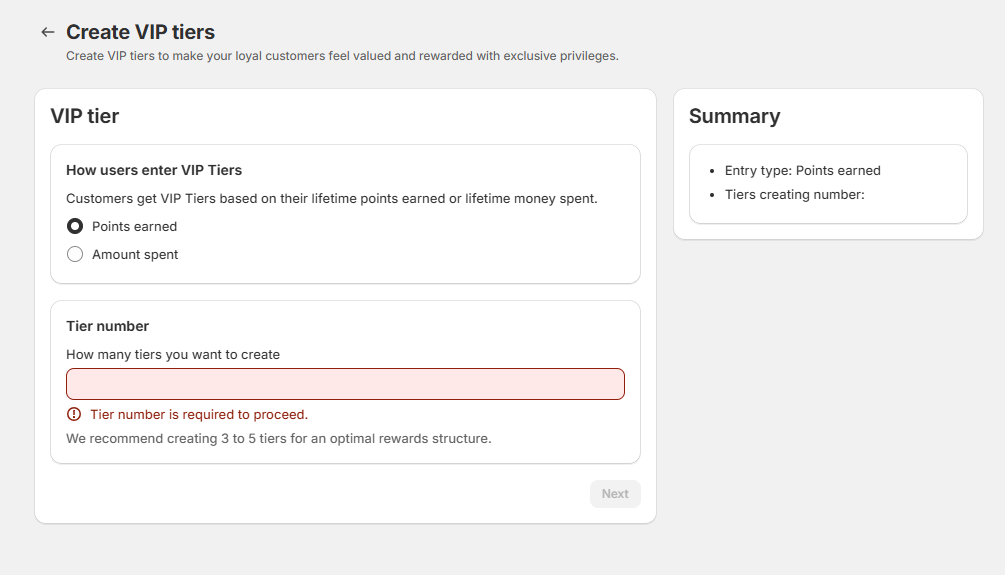
To create tiers, click “Add Tier” and follow the steps below.
Step 1: Setup #
| Field | Description |
|---|---|
| Number of Tiers | Select how many tiers to create (up to 5) |
| Tier Type | Choose Points-based or Amount-based system |
This determines whether tier progress is tracked by lifetime points or lifetime spending.
Step 2: Tier Configuration #
You will see a form to configure each tier based on your selections:
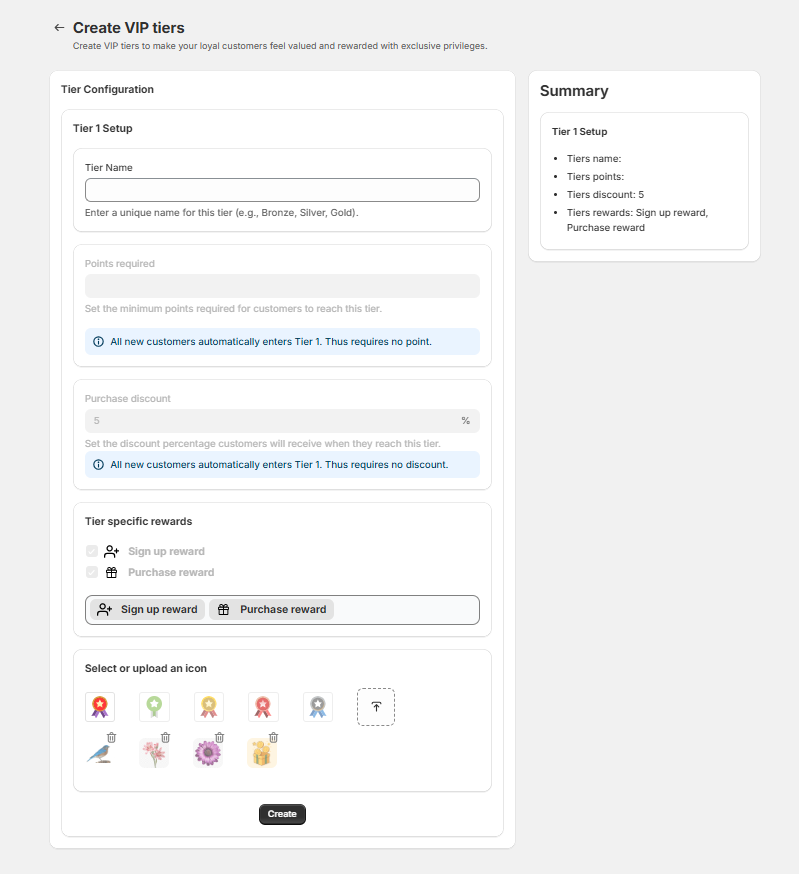
Tier 1 (First Tier) #
- Tier Name: Custom name (e.g., Bronze, Starter)
- Badge/Icon: Choose default icon or upload a custom image
- All other fields are disabled, because:
- Every new customer will automatically be placed in Tier 1
- It serves as the default tier
Tier 2 and Above #
For each higher tier:
| Field | Description |
|---|---|
| Tier Name | Name of the tier |
| Point/Amount Required | Threshold to enter this tier |
| Purchase Reward % | Additional reward percentage over the previous tier (e.g., +2%, +3%) |
| Other Rewards | Specify additional benefits or bonus perks |
| Badge/Icon | Choose from predefined icons or upload a custom image |
All newly created tiers are set to Inactive by default.
Activating VIP Program #
- Once tiers are configured, go to the Settings > VIP Program section.
- You can toggle the program ON or OFF.
- Only when Active, VIP tier logic will apply to customers.
How Tier Progress Works #
- Progression is one-way — once a tier is reached, it won’t be downgraded.
- Tiers are calculated based on lifetime data:
- Lifetime Points (if point-based)
- Lifetime Spend (if amount-based)
- The more customers earn or spend, the higher tier they achieve — unlocking better rewards.
Summary Table #
| Feature | Notes |
|---|---|
| Paid Feature | ✅ Only available for paid users |
| Max Tiers | 5 tiers |
| Recommended Tiers | 3 tiers |
| Tier Progress Type | Points or Amount (lifetime-based) |
| Tier Downgrade | ❌ Not supported (one-way upgrade) |
| Tier Status | All new tiers start as Inactive |
| Badge/Icon Upload Limit | Max 5 images |
| 1st Tier Requirements | Only needs Name + Icon (auto-assigned to all new customers) |
| Activation Required | Must activate VIP Program from Settings |
Best Practices #
- Use clear, brand-consistent names like “Bronze”, “Silver”, “Gold”
- Set realistic but motivating thresholds for each tier
- Upload visually distinct icons or badges for each tier


